Not all plumbing problems are easy to spot. Some hide behind the walls—quietly wasting water, causing damage, and driving up your bills. One of the most common hidden plumbing issues is a leaking breacher pipe. If you’ve heard this term and aren’t quite sure what it means—or how to fix it—you’re not alone.
In this guide, we’ll explain what a breacher pipe is, why it leaks, and what to do if yours starts giving you trouble.
What Is a Breacher Pipe?
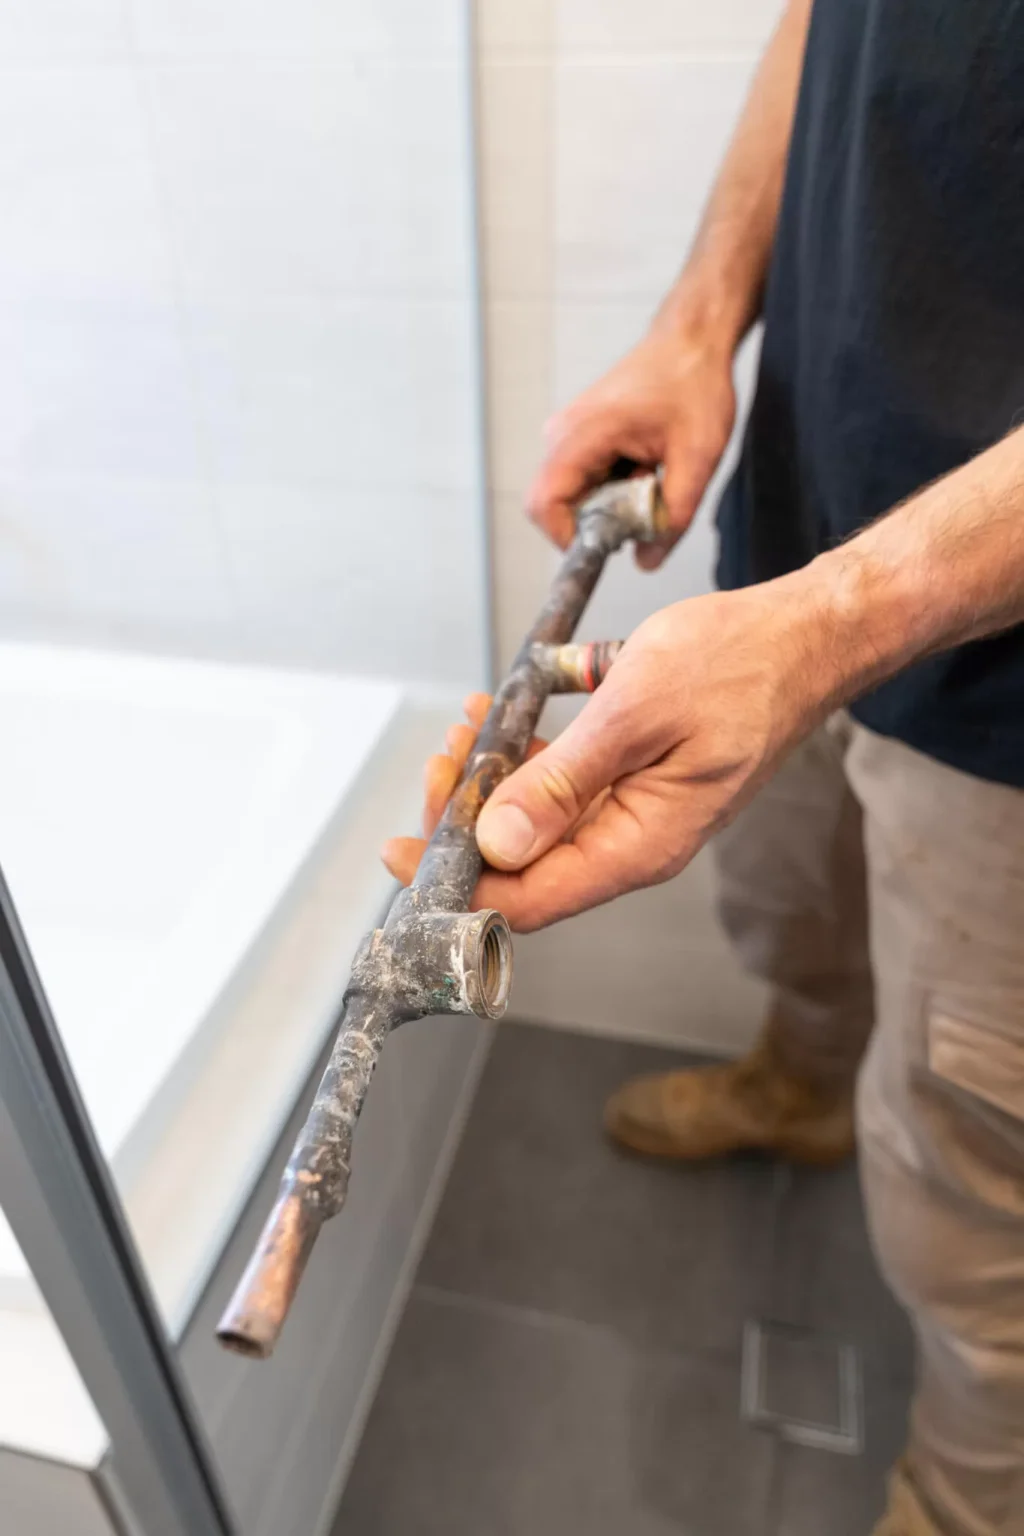
A breacher pipe is a fitting in your plumbing system that connects the hot and cold water pipes to a single outlet, usually your showerhead or bath tap. It’s typically found behind tiled walls in bathrooms, where you can’t see it.
Think of it as the middleman that helps control and mix the hot and cold water, delivering a consistent flow to your fixtures. Without it, your shower wouldn’t know how to give you the perfect warm mix you expect every day.
Because breacher pipes are installed inside the wall cavity, they’re often hard to inspect. When they develop a leak, the signs aren’t always obvious—until the damage starts to show.
Why Do Breacher Pipes Leak?
Like any other part of your plumbing system, a breacher pipe can wear out over time. But there are specific reasons this part is prone to leaking.
1. Expansion and Contraction
Hot water causes pipes to expand, and cold water makes them contract. Since the breacher handles both, it deals with constant stress from temperature changes. Over time, this can weaken joints and create tiny cracks or breaks in the pipe.
2. Corrosion or Rust
If your breacher pipe is made of metal, it may start to rust or corrode—especially if your home has older plumbing or water with a high mineral content. Corrosion can eat away at the pipe and cause leaks that start small but quickly grow worse.
3. High Water Pressure
Too much pressure running through the pipes can stress fittings like the breacher. This can push water out through weak points or even crack the pipe.
4. Poor Installation or Low-Quality Materials
If the original plumbing work was rushed or used cheap fittings, your breacher pipe may not hold up well over time. Even a small misalignment can increase wear and tear on the pipe.
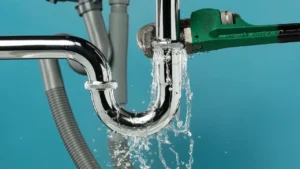
Signs You Have a Leaking Breacher
Since the breacher pipe is hidden behind the wall, spotting a leak isn’t always simple. But there are warning signs you can look out for:
- Damp or discolored walls near the shower or bath
- Bubbling or peeling paint or plaster
- A musty smell in the bathroom
- Water pooling on the floor with no clear source
- Tapping or dripping sounds from behind the wall
- Loose or cracking tiles around taps
- Unusually high water bills
If you notice any of these, don’t ignore them. A small leak today could become major damage tomorrow.
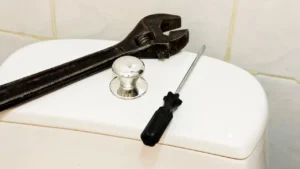
How to Repair a Leaking Breacher Pipe
Fixing a leaking breacher pipe usually isn’t something you can do without opening the wall. Here’s a general overview of the process:
Step 1: Confirm the Leak
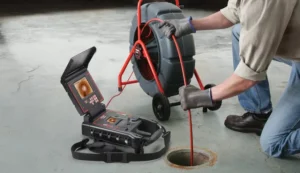
The first step is leak detection. You can use a moisture meter, thermal imaging, or just keep an eye out for the signs listed above. In most cases, a licensed plumber will confirm whether the breacher is the source of the issue.
Step 2: Turn Off the Water
Before any repair work begins, the water supply to that area of your home must be shut off. This avoids further damage and makes it safe to open the wall.
Step 3: Access the Pipe
This step involves carefully removing the tiles or cutting into the plasterboard to reach the breacher pipe. A skilled plumber will minimize damage and protect surrounding areas as much as possible.
Step 4: Repair or Replace the Breacher
Depending on the condition of the breacher, the plumber will either reseal joints, replace fittings, or install a new breacher pipe entirely. They’ll ensure that all connections are tight, secure, and up to code.
Step 5: Test the System
Once everything is in place, the plumber will turn the water back on and test for any remaining leaks. If the repair is successful, they’ll move on to restoration.
Step 6: Reseal and Retile
Finally, the wall is sealed and re-tiled or patched up. In many cases, the repair can be completed the same day, especially when handled by professionals with the right tools and parts on hand.
Alternative Fixes (For Minor Leaks)
If the leak is very small and the damage is limited, some homeowners try temporary fixes. These are not long-term solutions but may help reduce damage while waiting for a plumber:
- Pipe clamps and patches: These can be applied externally to slow or stop a leak.
- Epoxy or sealing compounds: Can sometimes plug small cracks.
- Waterproof tape: A quick band-aid for low-pressure leaks.
Important: These are only safe if the leak is visible and minimal. Never rely on these for hidden or high-pressure pipe issues.
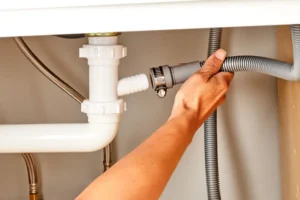
Should You Try to Fix It Yourself?
Fixing a leaking breacher may sound simple, but it’s not a typical DIY job. Here’s why:
- You need to remove tiles or walls to access the breacher.
- Special tools are required to cut, connect, and seal plumbing pipes.
- You could worsen the damage if the leak isn’t sealed properly.
- Improper repairs may not meet code and can void insurance.
If you’re confident, handy, and understand plumbing basics, you might handle very minor repairs. But for anything more than a surface leak, it’s safest to call a licensed plumber.
Preventing Future Breacher Leaks
Once you’ve dealt with a leaking breacher, you’ll want to avoid going through it again. Here are a few prevention tips:
- Use quality materials for all plumbing work.
- Have a licensed plumber install or upgrade fixtures.
- Add a pressure-limiting valve to avoid stress on your pipes.
- Schedule plumbing inspections, especially in older homes.
- Don’t ignore small signs, like odd water sounds or rising water bills.
Regular maintenance and early detection can prevent bigger, costlier problems.
Final Thoughts
A leaking breacher pipe can cause more damage than you think—especially when it hides behind your bathroom wall. While it may not sound serious at first, it’s a plumbing issue that deserves quick attention.
Whether your leak is small or already causing visible damage, the best course of action is to contact a licensed plumber who can fix the problem properly. If you’re in Adelaide, Perth, or Brisbane, Same Day Trades offers fast and professional leaking breacher repairs.
Need Help with a Leaking Breacher?
Call Same Day Trades today. We’ll find the source of the leak, repair the breacher, and make sure your bathroom is safe and sound—often on the same day you call.
Frequently Asked Questions (FAQs)
What causes a breacher pipe to fail?
Temperature changes, pressure buildup, corrosion, and wear over time are the main causes.
Can I patch a breacher pipe myself?
Only for very small, visible leaks. For anything behind a wall, it’s best to call a pro.
How long does breacher pipe repair take?
Most repairs can be completed in a few hours, depending on the extent of the damage.
Is a leaking breacher covered by home insurance?
It depends on your policy. Many plans cover sudden water damage but not long-term leaks.
Do leaking breachers increase water bills?
Yes. A small, continuous leak can waste hundreds of liters over time, raising your water costs.
Is it okay to ignore a small leak behind the wall?
No. Even small leaks cause mold, rot, and structural damage if left too long.