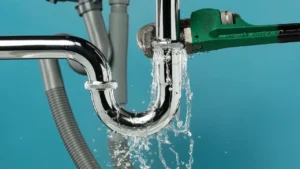
Summers in Australia can get scorching hot, and it’s not uncommon for people to seek some mode of comfort so that life can be easier.
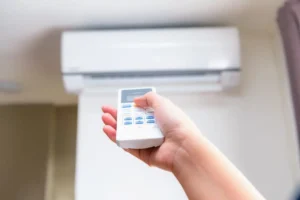
The nights are sweaty and uncomfortable, but that’s no excuse for turning up tired at work the next day. The obvious solution is to switch on the air conditioner, but what if your old unit isn’t working?
In today’s guide, we will explain all the steps when it comes to installing a new AC. By following the correct procedure, your new air conditioning system will provide much-needed relief in no time.
Air Conditioning Installation
Installing an air conditioner is easy, provided you know what to do. However, most homeowners might struggle to cope with everything that’s necessary to get the job done. To ensure you don’t fall in that bracket, we have narrowed down the basic procedure for a successful installation.
Just follow along and you should get the unit up and running in no time.
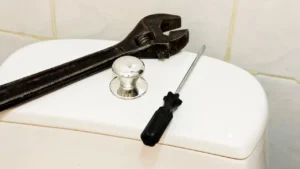
1. Collecting Information
The first step is gathering information about the size of the unit, installation area, and regulations before bringing home the new air conditioner. When you contact a professional air conditioning installation team, they send an estimator for an in-home inspection.
The estimator’s job is to review in detail the existing air conditioner and electrical connections to provide an accurate estimate about the new air conditioner installation process. Meanwhile, your job is to help the estimator and cooperate with him/her while they’re reviewing the old system.
What’s more, reviewing your home allows the estimator to note down the equipment required for the new AC installation. The person will pass on the information to the installation team, who will make the necessary arrangements.
Thanks to this step, you need not worry about the installation process remaining incomplete or taking unduly long. It guarantees efficiency so that the new air conditioner is ready for use quickly.
2. Installation Team Arrives
Before the arrival of the servicemen, you’ll receive a confirmation of the appointment. Additionally, any trustworthy HVAC company will inform you about the experience of its employees, providing their bio for complete transparency.
In other words, you’ll know all about the people who will be working with you closely. When they arrive, the lead air conditioning installer will let you know in detail about the job and what the team will do.
Moreover, you can review the installation equipment and any special requirements you shared with the estimator. It would be best to take your time and go over the AC installation manual, thereby reducing the chances of costly errors later on.
That said, the air conditioning installation isn’t delayed while you’re going over the job profile. This is because the other team members start putting down floor protection, arranging the tools, and taking care of any loose ends.
Not to mention, they cut the power to all air conditioning systems, including the gas supply, for safety.
3. Removing The Existing Air Conditioner
Removing the old air conditioning unit isn’t as simple as disconnecting and replacing it with the new AC unit. You should know that all air conditioners come with a refrigerant and its subsequent electrical wiring, which the installation team will remove first.
A. Recovery Machine
They will use a recovery machine since the law mandates that it’s illegal to vent the refrigerant into the atmosphere. Thanks to the recovery machine and a storage tank, it’s possible to safely remove the refrigerant present in the central air conditioning system.
You must also note that the individual handling the refrigerant lines must have an EPA certification, guaranteeing proper handling of the material. Consumers can ask the team for their certificates, verifying their credentials before they disassemble the central air conditioner.
B. Disconnect Box
Once you’re satisfied, they will remove the refrigerant and disconnect the wiring of the HVAC system. On that note, we should mention that AC units come with a disconnect box, a safety tool for emergencies.
This box cuts the power supply and stops the air conditioning process to prevent major accidents. We are telling you this because certified companies change the disconnect box while installing the new AC unit. Long story short, it guarantees safety, ensuring that all the components are brand new.
C. Circuit Breaker
Before removing the old air conditioner, the final step is turning off the circuit breaker in the electrical panel. After that, it’s safe to disassemble the unit before starting work on the new model.
4. Preparing For The New Air Conditioning System
When we say preparing, we mean following the manufacturer’s specifications and making changes to the current location of the air conditioner. One of the first things to do is change the pad that will hold the new air conditioning unit.
Moreover, based on the longevity of the previous model, the ground below the air conditioner may have sunk or become uneven. That’s why any professional service uses a gravel brush to level the area to support the size and weight of the new system.
Some people believe that they should build a concrete pad to hold the exterior unit. But you may not realise that it could break, crack, or shift easily, which makes concrete slightly inconvenient.
A certified HVAC technician will tell you that composite pads offer a suitable solution, being low maintenance and highly durable. Moreover, new air conditioners vibrate a lot (depending on their size), which composite pads can absorb easily to prevent cracks, shaking, and excessive noise.
Another well-known advantage is that disassembling the outdoor unit becomes convenient, which isn’t possible otherwise. If you use concrete pads, shifting the air conditioner can lead to permanent damage as certain internal components aren’t necessarily portable.
But with a composite base, you can avoid such issues, suitably lifting the AC unit for future repair work.
5. Indoor Evaporator Coil
The next step is working on the evaporator coil, the part of the air conditioner that’s present above the furnace (and sometimes below), connecting to the refrigerant lines. You’ll see that the evaporator is of two types – cased and uncased.
But keeping aside the model type, the professional service has to disconnect the sheet metal plenum to install the new coil. That said, access to the coil is sometimes tricky because people build closets or basements around them.
The company may require an extra charge to remove all the obstacles and complete the installation in such a scenario. Rest assured, the team will notify you during the review, ensuring that you’re not caught off guard.
After installing the new coil, they will remove the refrigerant lines.
6. Other-Half Of The Refrigerant Line
Even though the team disconnected the refrigerant lines from the air conditioner, the other half is still connected to the evaporator coil. It comprises two copper coils that carry the refrigerant charge between the outdoor condenser and the air conditioners.
Since the line is attached to the floor joists, the servicemen will remove the straps holding them together and change the lines. What’s more, if the old line was concealed behind obstacles, they will pass the new lines through an open area for easy access in the future.
Not to mention, you’ll find oil inside the refrigerant system, which is different from the oil required for the new air conditioner. Naturally, any professional company will change the oil to avoid damaging the new AC unit.
7. New Evaporator Coil
As you know already, you’ve got the option of choosing between cased and uncased coils. However, it would be best to opt for cased coils, thanks to the removable panels and insulated cabinet, providing easy access.
Plus, it’s possible to install the coils on top of the furnace, making future modifications and repairs hassle-free. The best part is that a trustworthy company uses pre-cased coils, thereby reducing the chances of a faulty installation.
A. Special Instructions
To seal and connect the coil to the sheet metal plenum, it’s necessary to follow specific steps. Before the installation begins, the lead installer will inform you about the process which involves using fabricated rails.
This is important because the coil has a plastic drain pan, and if it sits too close to the furnace, the heat might cause it to melt. The rails ensure that there is sufficient distance between the furnace and the coils to prevent damage.
B. Sheet Metal Pan
After the rails are ready, the team will decide whether to build a sheet metal pan depending on the size of the supply plenum. As a rule, units with a plenum bigger than the coil will need a sheet metal pan that has a sizable opening below the coil.
This opening should be the same size as the bottom opening, permitting proper airflow through the coil. If there’s an issue with the airflow, the coil will freeze, which may result in a refrigerant leak.
C. Completing The Plenum
Once all the above steps are complete, the last step is building the front portion of the plenum. Sometimes the installation service will recommend constructing a panel door to cover the coils. And while this is fine by law, you must check if there are holes provided in the cover for the refrigerant system.
Also, ask them to check the existing air ducts, ensuring that these are draining properly to prevent air leaks.
8. New Condensing Unit
The installation service will fix the refrigerant system with the help of hangers and copper straps to prevent corrosion. When the lines are in place, they will connect it to the air conditioner and proceed to work on the new air conditioner condenser.
For that, they will run the refrigerant lines into the correct service valve, sealing them by brazing. It’s a welding technique that melts the filler rods, copper lines, and service valves into a leak-free connection, guaranteeing proper performance.
9. Filter Dryer
Filter dryers are essential for the cooling systems to function smoothly as they absorb moisture and provide physical filtration.
The AC installation service will assemble the filter dryer into the refrigeration system near the expansion valve. As a result, it guarantees the protection of the inner components of the AC unit while ensuring that the filter dryer is safe from weather damage.
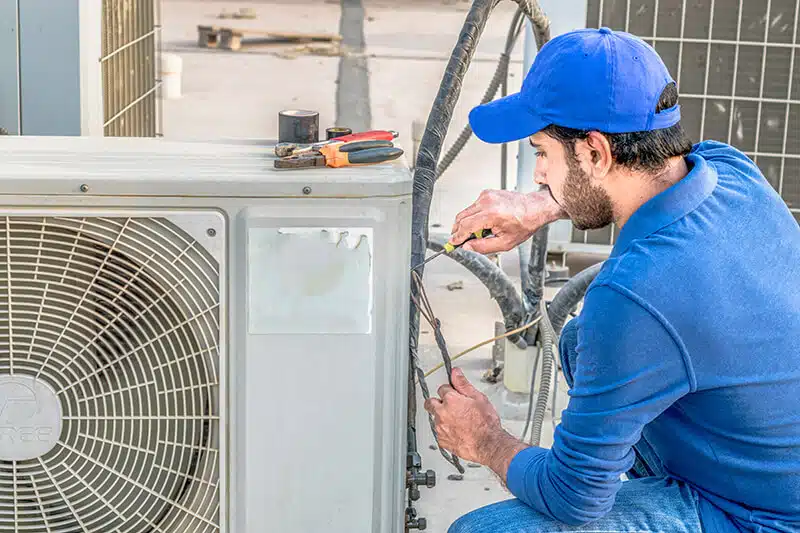
10. High/Low Voltage Wiring
Next, the service team will use the existing electrical panel and power supply to power the new air conditioner by connecting the high/low voltage wiring. The wiring ensures overcurrent protection for the safety of your property and family.
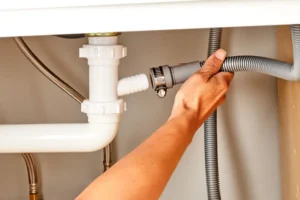
11. Condensate Drain Line
The penultimate step is setting up the condensate drain line, running from the evaporator coil inside the house to the floor drain or a condenser pump lying outside. Hence, it will allow the air conditioner to remove the moisture accumulated during operation and dispose of it outside.
Along with that, you’ll need an overflow safety switch and trap to prevent flooding in case of any mishap.
12. Testing
Finally, with everything in place, the service team will run the air conditioner for 15 to 20 minutes to check whether it is functioning smoothly. If there are no complications, they will promptly clean the area and leave you to enjoy the cool air of the new air conditioning system.
Wrapping Up
We hope you’re not intimidated by the installation procedure mentioned above and have a clear idea of what to watch out for.
The purpose of this guide was to educate you about the correct procedure so that you can have a knowledgeable discussion with the AC servicemen. Also, carry out proper research and hire a reliable service to meet all your requirements.
With a suitable model and proper installation, say goodbye to humid nights and relax in the comfort of your new air conditioner!