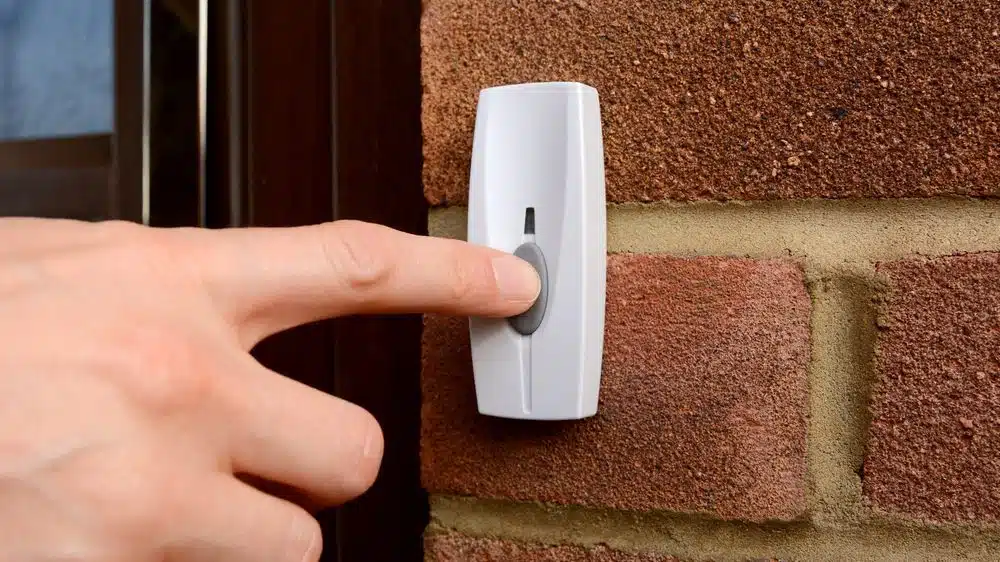
Having a doorbell that doesn’t work can be quite the headache. One key fact is that most issues stem from problems with doorbell wiring. This article will guide you through preventing these electrical problems, ensuring your doorbell functions smoothly.
Keep reading to learn how.
Understanding Doorbell Wiring
Understanding doorbell wiring helps you maintain a functional home. Doorbells consist of several essential parts that work together, ensuring smooth operation and communication at your front door.
Types of doorbells
Doorbells come in various types. Wired doorbells are the most common. They connect directly to your home’s electrical system and require components like transformers, chimes, and buttons.
Understanding how these parts work together helps you avoid issues with your wiring.
Wireless doorbells offer a different approach. They operate on batteries and use radio signals to communicate between the button and chime. This type of doorbell is easy to install since it doesn’t need extensive wiring.
Knowing both types can make troubleshooting any electrical problems easier as you work through issues with doorbell wiring.
Components of a wired doorbell (button, transformer, chime)
A wired doorbell consists of three main components: the button, transformer, and chime. The button sits near your door. It sends a signal when pressed. This action activates the transformer.
The transformer converts standard voltage into a lower one for safe use in the doorbell system.
The chime produces sound to alert you when someone is at the door. Checking each component regularly ensures everything functions well. Always ensure that all wires connect correctly to prevent electrical issues with your doorbell wiring.
Proper installation and maintenance of these components help avoid common problems like malfunctioning or no sound from the chime.
The 3 wires used in doorbell wiring
Doorbell wiring typically involves three essential wires. The first is the power wire, which connects directly to the transformer. This wire supplies electricity to the system. Next, you have the chime wire that sends a signal from the button to activate the chime when pressed.
Finally, there’s a ground wire that helps prevent electrical issues by providing a safe path for excess electricity.
It’s crucial to ensure all these wires connect correctly. Misconnections can lead to problems with your doorbell functioning properly. Always conduct a visual inspection of your circuit for any exposed or frayed wires since they are common culprits of malfunctioning systems.
Troubleshooting Common Doorbell Wiring Issues
Check the connections in your wiring to ensure they are secure. If your doorbell doesn’t ring, inspect the transformer and circuit breaker for any issues.
Tips for proper wiring
Proper wiring is essential for your doorbell system. Always connect all wires correctly, especially the power wire to the transformer. This connection prevents electrical problems with doorbell wiring.
Visual inspections help identify exposed or frayed wires that can cause faults in the circuit.
Seal disconnected wires safely by wrapping them with electrical tape. This method prevents potential hazards and keeps your installation secure. Follow the doorbell wiring diagram closely.
Failure to do so may lead to malfunctioning of the entire system, including issues with voltage from the transformer and connections from buttons or chimes.
Common issues and how to fix them
Common issues with doorbell wiring often include exposed wires, frayed insulation, and loose connections. Faulty doorbell circuits usually result from these problems. Conduct a visual inspection of the wiring to identify any damaged sections.
If you find exposed or frayed wires, secure them with electrical tape. This simple step helps prevent potential hazards.
A malfunctioning chime or speaker can also cause your doorbell not to work. Check if the transformer supplies power correctly to the system. Inspect any disconnected button wires as well; reconnect them properly if needed.
Following these troubleshooting steps will help ensure that your doorbell functions smoothly and safely. Next, we will discuss crucial safety tips for handling your doorbell wiring effectively.
Safety Tips for Doorbell Wiring
Always turn off the power before starting any wiring work on your doorbell. Handle wires with care to avoid accidents and ensure safety at all times.
Turning off power before installation
Before starting any doorbell installation, turn off the power. This simple step helps prevent electrical fault issues with your doorbell wiring. Check the circuit breaker and ensure that it is switched off.
Exposed or frayed wires can lead to hazards, so always conduct a visual inspection for these common problems.
Capping off disconnected wires with electrical tape adds an extra layer of safety. Following these precautions ensures you work in a secure environment while handling components like buttons, chimes, and transformers.
Next, let’s look at how to safely remove old doorbell components.
Proper handling of wires
Proper handling of wires is crucial for preventing electrical issues with your doorbell wiring. Always ensure that all wire connections are secure. Check that the power wire connects properly to the transformer.
Conduct a visual inspection for exposed or frayed wires. These can lead to faults in your doorbell system.
Wrap disconnected doorbell wires with electrical tape. This step seals the wires and prevents potential hazards. If you find damaged wiring, repair it immediately and wrap it securely with tape.
Keep safety at the forefront when dealing with any doorbell wiring tasks, as this reduces risks while maintaining your home’s electrical systems effectively.
How to Install a Doorbell
To install a doorbell, start by removing the old components carefully. Then, set up the new transformer, button, and chime before testing the system to ensure everything works correctly.
Removing old doorbell components
Start by turning off the doorbell breaker to ensure your safety. Then, remove the old doorbell button and unscrew the chime from the wall. Detach any disconnected or loose wires with care.
Inspect these wires visually for fraying or damage. If you see exposed wires, they can lead to electrical issues with your doorbell wiring.
Next, check the transformer connections. Disconnect it safely if you plan to replace it. Always cap off unused wire ends with electrical tape to prevent hazards. Following proper doorbell wiring techniques safeguards against future malfunctions and ensures a smooth installation process.
Installing new transformer, button, and chime
Installing a new doorbell system involves several steps. Begin by removing the old components carefully. Take out the old transformer, button, and chime. Next, install the new transformer first.
Ensure that the power wire connects correctly to it to prevent electrical issues with your doorbell wiring.
Install the button next. Connect its wires properly to avoid malfunctioning later on. Once done, move on to installing the chime. Make sure all connections are secure and check for any exposed wires or frayed insulation during this process.
Testing the doorbell after installation is crucial to confirm everything works as expected.
Testing the doorbell
Testing the doorbell is essential after installation. Check if the transformer supplies power to the system correctly. Press the button and listen for a response from the chime. If it doesn’t work, inspect for common issues like disconnected or loosened wires.
Look out for damaged wires or frayed insulation as these can cause electrical problems with your doorbell wiring. Use electrical tape to wrap any exposed connections that you find.
Once you’ve completed testing, move on to safety tips for doorbell wiring to ensure everything remains secure during use.
Conclusion
Preventing electrical issues with doorbell wiring starts with understanding the system components. Always ensure wires connect correctly to the transformer. Inspect for exposed or frayed wires regularly to avoid problems.
Secure and seal disconnected wires properly with electrical tape. This proactive approach keeps your doorbell functioning safely and effectively.