A well-planned ducted air conditioning installation can change the way your household feels year-round. The system hides in your ceiling, delivers even airflow to every room, and can switch from cooling to heating at the push of a button. Yet many homeowners overlook one crucial step: preparing the house before the technicians arrive. Skipping that preparation often leads to delays, extra charges, or—worse—an installation that doesn’t perform as promised.
This page walks you through each task you should complete before installation day. The advice is direct, practical, and written with Australian homes in mind. By the end, you’ll know exactly how to set up your space so the installers can get in, do the job safely, and leave you with a system that works from day one.
1. Read and Understand the Installation Plan
Every reputable installer supplies a written plan or quote that explains:
- The proposed location of the indoor fan coil
- Where the outdoor condenser will sit
- The number of zones and vents
- Estimated installation time
- Any switchboard or wiring upgrades
Take ten quiet minutes to read that document line by line. Circle anything you do not understand. Then phone or email the installer for clarification. That quick call prevents expensive on-site changes later.
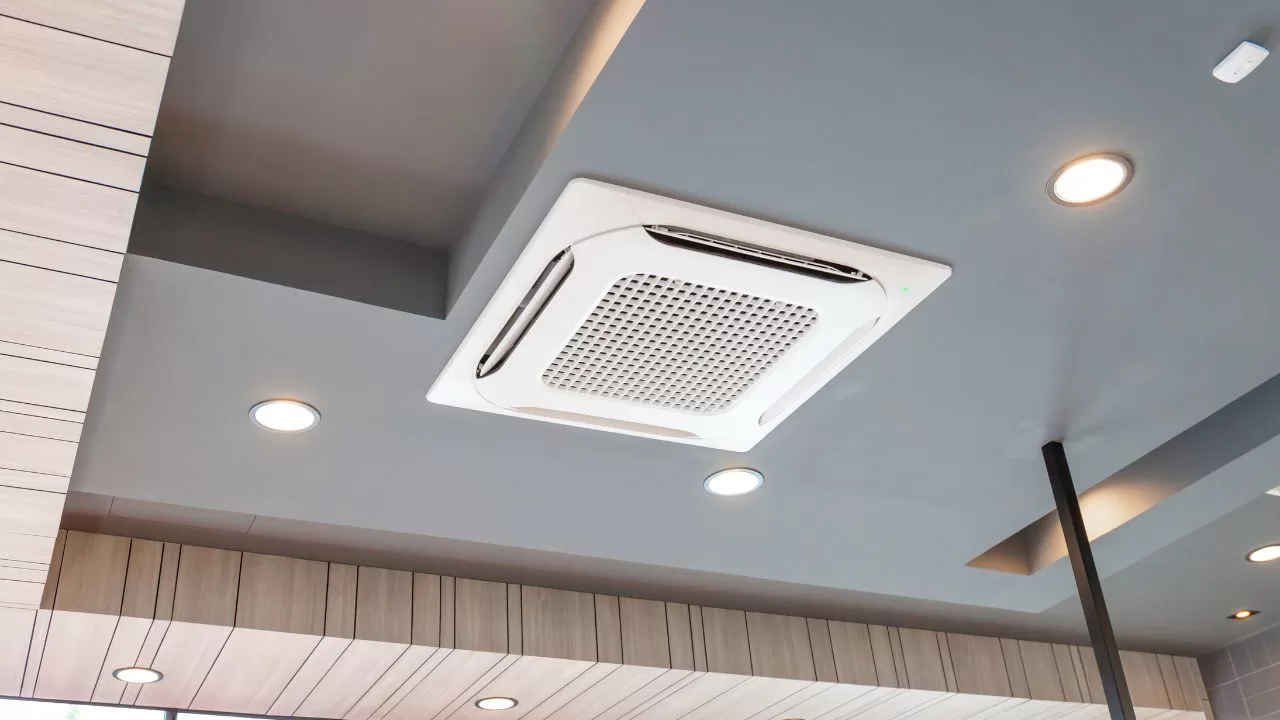
2. Check Roof Space Access
Australian ducted systems usually live above the ceiling. For workers to reach that area, they need a manhole or attic hatch large enough to move bulky parts. Two simple checks help:
- Measure the opening. A typical indoor unit needs a minimum opening of about 600 mm by 600 mm.
- Create a clear path. Remove boxes, suitcases, or insulation bales sitting within a metre of the opening.
If roof space is limited—common in older Queenslanders or terrace homes—ask whether an under-floor or multi-split alternative is wiser. Sorting that now is cheaper than discovering the issue on installation morning.
3. Make Indoor Work Zones Easy to Reach
Installers need to cut circular holes for vents and patch cables through wardrobes or linen cupboards. The smoother their path, the quicker the job. In the week before the appointment:
- Push sofas, bookshelves, and beds half a metre away from walls where vents will appear.
- Take frames or mirrors off those walls to avoid cracks.
- Store fragile ornaments in a closed cabinet for the day.
Remember that cool air flows best when vents are not blocked by tall furniture, so this preparation doubles as future airflow protection.
4. Prepare Outdoor Space for the Condenser
The outdoor unit sheds heat, so it needs good air flow. Choose a level spot near an external wall and run through this short checklist:
- Clear away shrubs, bins, and garden tools within a one-metre radius.
- Ensure the path from the driveway to the pad is wide enough for a small trolley.
- Check local council setbacks; many shires require the unit to stand at least 450 mm from the boundary fence.
If your soil is sandy or the ground slopes, ask whether a concrete plinth or steel frame is included in the quote.
5. Confirm Electrical Capacity
A modern ducted reverse-cycle system can draw 10 kW or more during peak load. That means your electrical switchboard must handle the extra current. Do the following:
- Open the switchboard door. Count spare circuit breaker slots.
- Look for a main switch rating. Many older boards max out at 40 amps, which can be tight.
- Send a photo to the installer or a licensed electrician. They can confirm whether an upgrade is necessary.
Doing this a week ahead avoids a common day-one delay: technicians arriving, spotting an overloaded board, and needing to re-book once an electrician completes an upgrade.
6. Keep Children and Pets Safe
Power tools, open ceilings, and trailing cables are magnets for curious kids and nervous pets. On installation day:
- Plan an off-site playdate or movie outing for younger children.
- Move dogs to a secure yard or a friend’s house.
- Lock indoor cats in a spare room with food, water, and a litter tray.
You’ll keep everyone safe and give installers space to concentrate on their work.
7. Stay Reachable on Installation Day
Even if you cannot remain on the premises, leave a mobile number with a charged battery. Installers might need fast answers on vent placement or wiring routes. A five-minute phone chat beats down-tools delays that stretch the job into a second day.
If you must leave totally, nominate a neighbour or relative who can make small decisions. Let the technician know who that stand-in is before you head out.
8. Expect Noise, Dust, and Minor Debris
A ceiling saw, rotary hammer, and drop sheets are part of the package. No installer can promise a spotless process, though most will vacuum before leaving. Reduce mess by:
- Covering nearby furniture with cotton sheets.
- Closing the doors of rooms not being worked on.
- Opening windows once cutting is complete to clear drywall dust.
Vacuum again after the team departs to protect sensitive electronics or asthma sufferers.
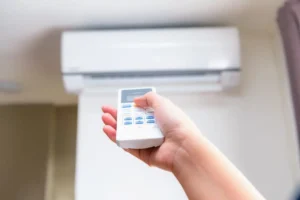
9. Ask for a System Walk-Through
Before the crew packs up, insist on a short demonstration that covers:
- Using the wall controller to set temperatures and zones.
- Locating return-air filters and learning how to clean them.
- Switching the system on and off at the isolator outside.
This ten-minute tutorial eliminates first-night confusion and spots any issues while the technicians are still on site.
10. File All Paperwork Immediately
Professional installers issue several documents:
- Tax invoice and receipt
- Manufacturer warranty cards
- Electrical compliance certificate (if wiring was modified)
- Refrigerant handling certificate
Scan or photograph each item and store copies in both a cloud folder and a labelled envelope near your switchboard. Future technicians—and your memory—will thank you.
11. Schedule the First Service Now
Ducted air conditioning is a long-term investment. Heat loads, salty coastal air, and roof dust can slowly reduce performance. Most manufacturers recommend a professional check at twelve months. Many homeowners forget and blow past that date.
While the installation team is still on site, open your phone calendar and set a reminder for eleven months. That one action preserves efficiency and supports warranty terms.
12. Final Checklist
Use the list below the night before the crew arrives:
- Roof access hatch clear and larger than 600 mm × 600 mm
- Furniture moved away from vent sites
- Outdoor unit pad area free of obstacles
- Photos of the switchboard sent to the installer or electrician
- Pets secured and neighbours informed
- Mobile phone fully charged
- Dust sheets ready for valuables
Tick every box, and you’re primed for a smooth, single-day installation.
Conclusion
Preparing your home for a ducted air conditioning installation is not complicated, but it does require purposeful effort. By clearing work zones, checking electrical capacity, and setting safety plans for family and pets, you make life easier for the installation crew and protect your investment. The reward is a system that runs efficiently from the start, delivering quiet comfort through scorching summers and cool winter nights.
If you’re ready to book or still have questions about the process, reach out to our team. We’ll review your floor plan, explain zoning options, and help you choose the right capacity for your climate zone. With proper preparation and expert guidance, your new ducted system will serve your household for many years to come.
Frequently Asked Questions
How long does a typical ducted installation take?
Most single-storey homes are completed in one day. Larger or two-storey properties may need an extra day for duct routing.
Will I need council approval?
In most Australian suburbs, standard residential installations do not require council permits. Exceptions include heritage-listed buildings and certain strata complexes; check local guidelines.
Can I use my roof space for storage after the unit is installed?
Light storage is usually fine, but avoid loading boxes directly on top of ductwork or the indoor fan coil.
What happens if my switchboard is full?
The electrician can install a sub-board or upgrade the main board. Factor that cost into your overall budget.
How often should filters be cleaned?
Vacuum return-air filters every three months and wash them with warm soapy water twice a year. Replace disposable filters according to manufacturer instructions.